
It has been forever since I’ve shared a hack with you! 3 months to be exact.
This one is a goodie and loved by boys and girls alike. I’ve been making these for years, since my now 7 year old was 2! They are still a favourite.
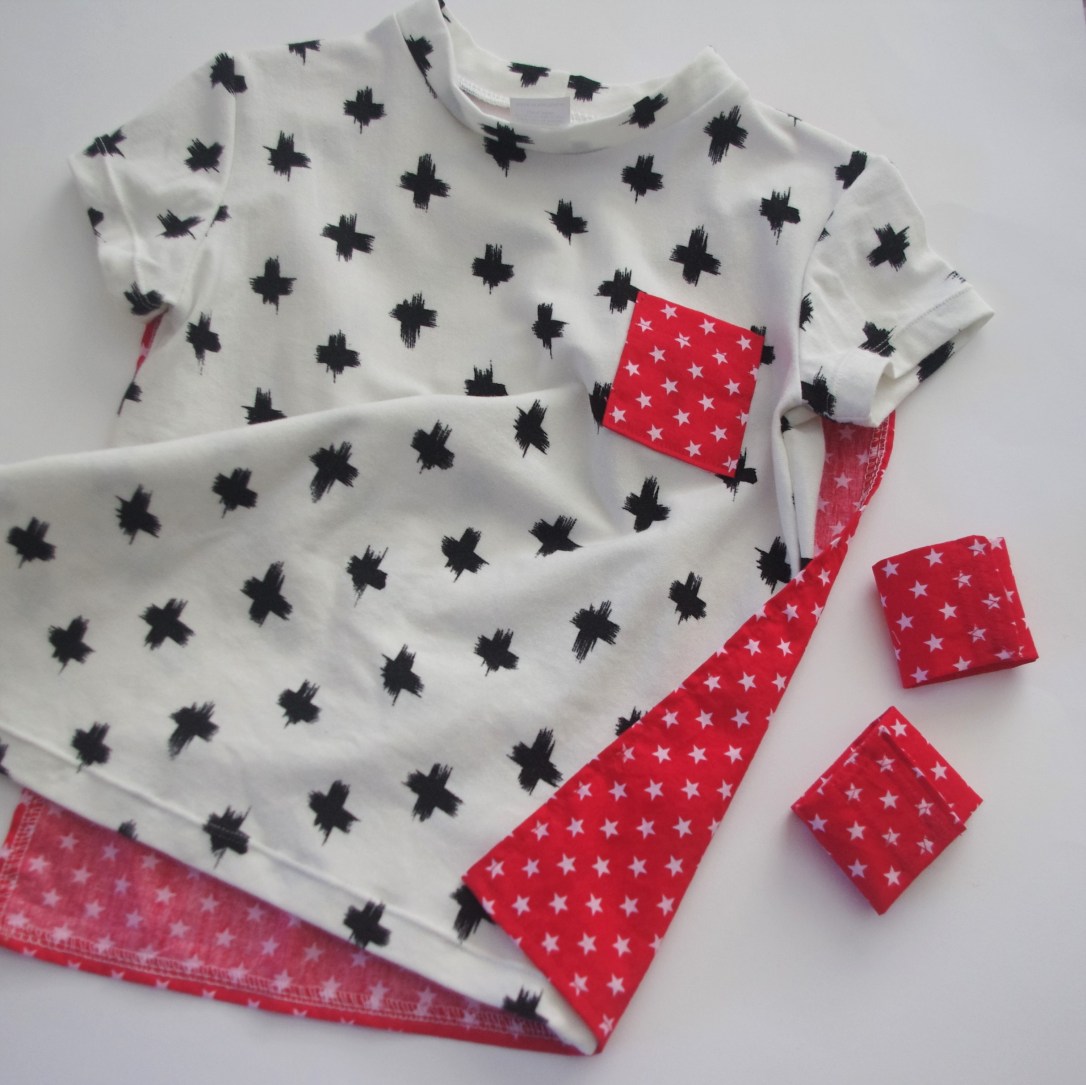
I have 3 different versions to share with you. One is a quick and simple add-on to a bought t-shirt, the next is a step up and making the t-shirt with a cape attached and the third is the next level, a dress shirt with an add-on cape. To top all three off, there are some simple wrist cuffs.
For this hack, I love to use a bright colour with stars but other bright colours work as well.
1. Add-on cape to a bought T-shirt

Fold the shirt in half so that the front is folded in.
Fold your fabric in half and lay the fold of the shirt along the fold of the fabric. This is to do a rough measurement of how wide you want your cape. Cut out a general rectangle that is slightly wider and longer than the t-shirt.

Now you need to lay the fabric on top of the t-shirt. I do this to get the shape of the neck. Use a sewing pen to feel and mark along the bottom of the neckline of the t-shirt and the shoulder line. Mark a 1/4inch seam allowance along this line ad cut.
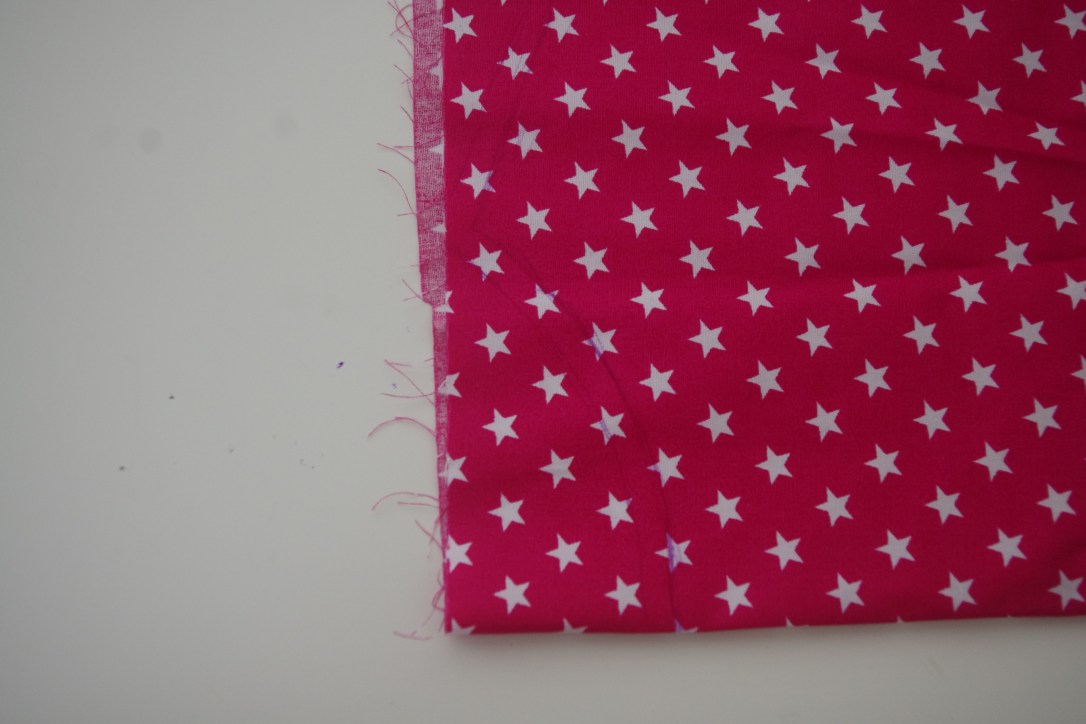
Around the 3 straight sides of the cape, fold over and press 1/8 inch twice so that you have a narrow hem. Sew in place (you can also do a simple overlocked hem, see the tutorial for the handmade t-shirt coming up next).

Press down the curve around the neck with a 1/4 inch.

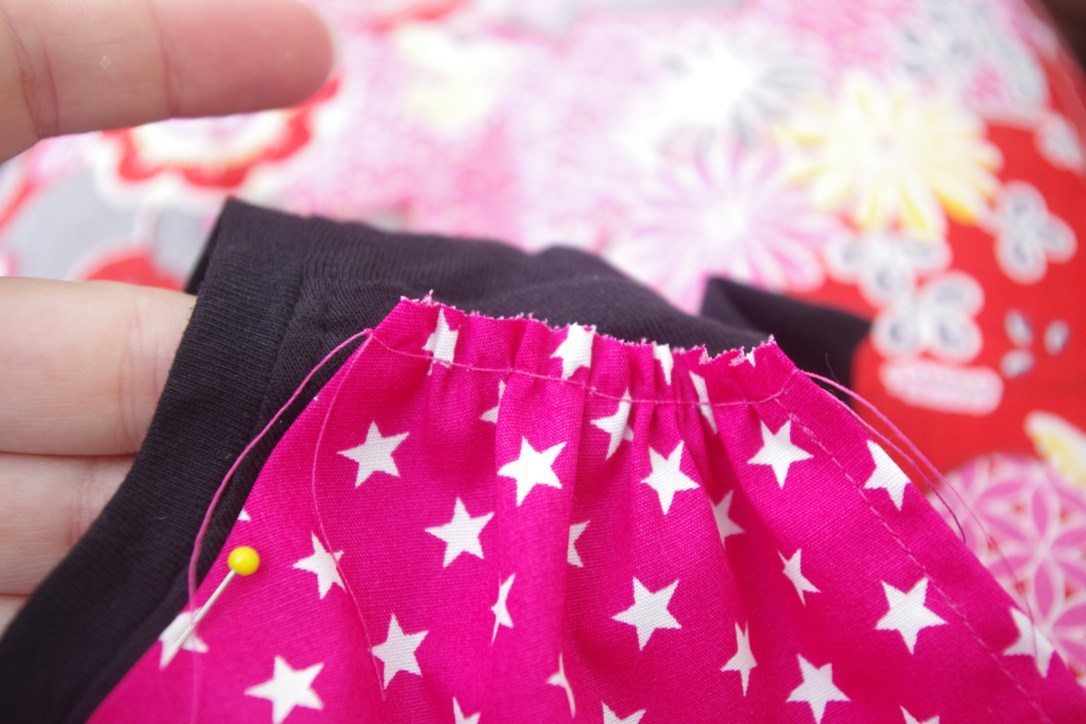
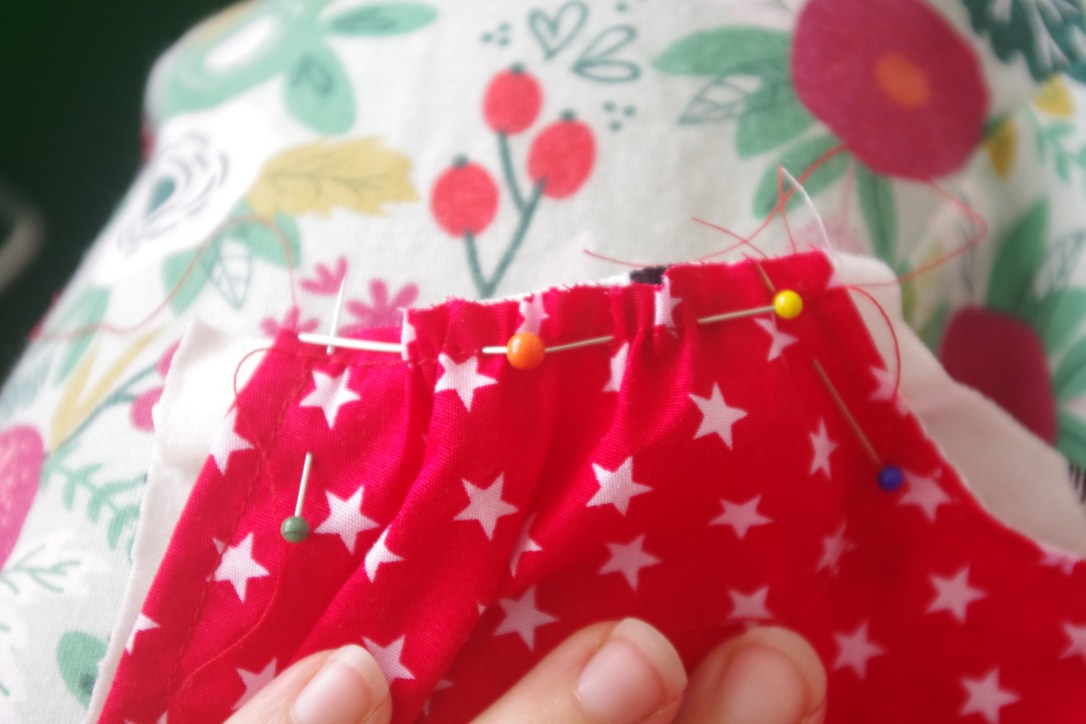
Use a gather stitch along the 2 shoulder sections. Make sure the neck is folded down where you ironed it.

Start at the centre of the neck of the cape and the shirt neck and pin it on. Gather the shoulders of the cape until the fit along the shoulder seam of the t-shirt.
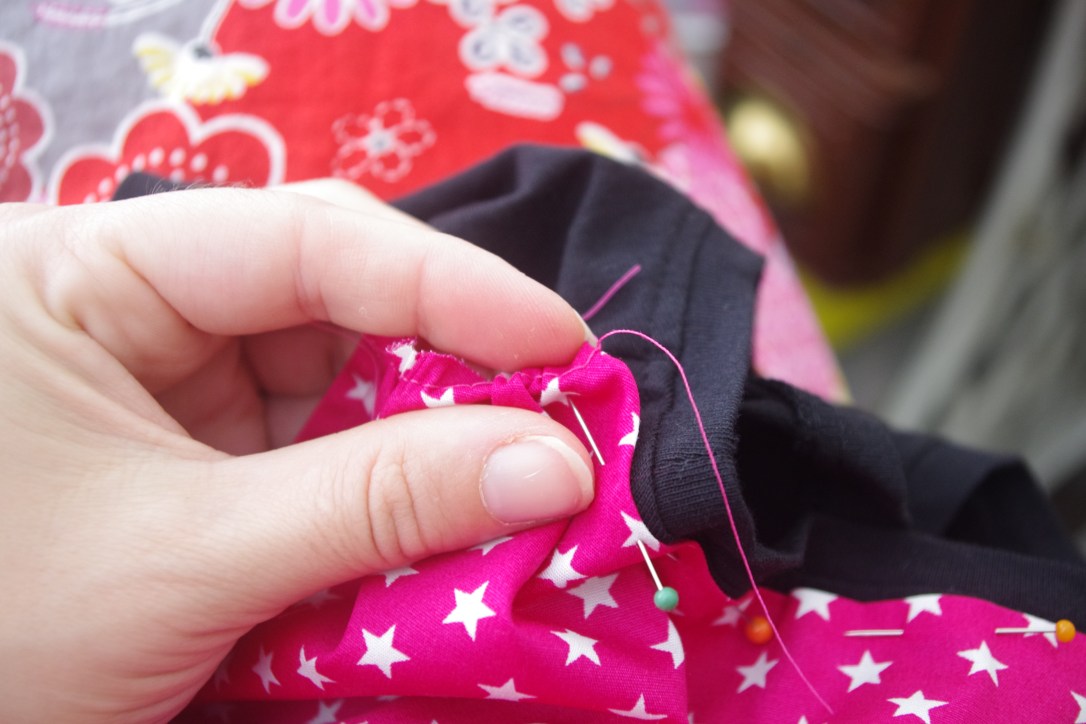
Fold over the edge about a ¼ inch and pin to the shoulder. Feed the machine through the neck and carefully sew along the edge of the cape along the shoulders and neck where you’ve pinned. Use a short stitch (around 2) and go slowly, being careful not to stretch the t-shirt.
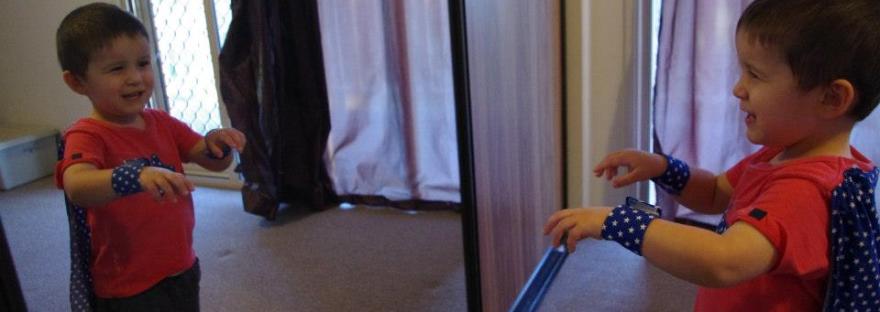
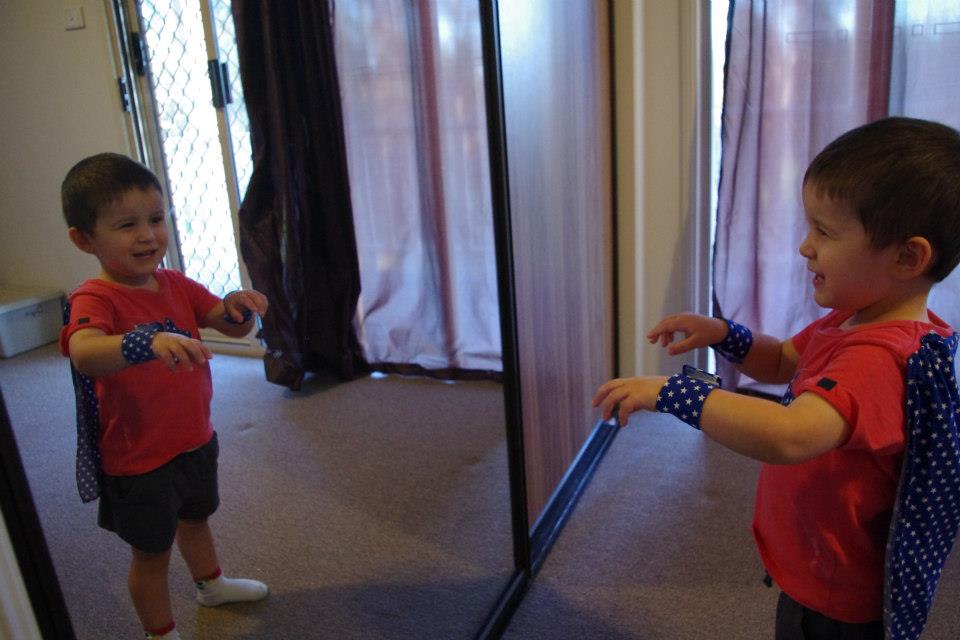
This one I added an appliqué to the front. I usually align it to the underarms of the t-shirt. If you’re new to applique, you’ll find a geometric shape with straight sides easiest. Now you’re done!

2. Add-on cape to a t-shirt as you sew it
We measure the cape similar to above except we have a pattern piece to us instead.
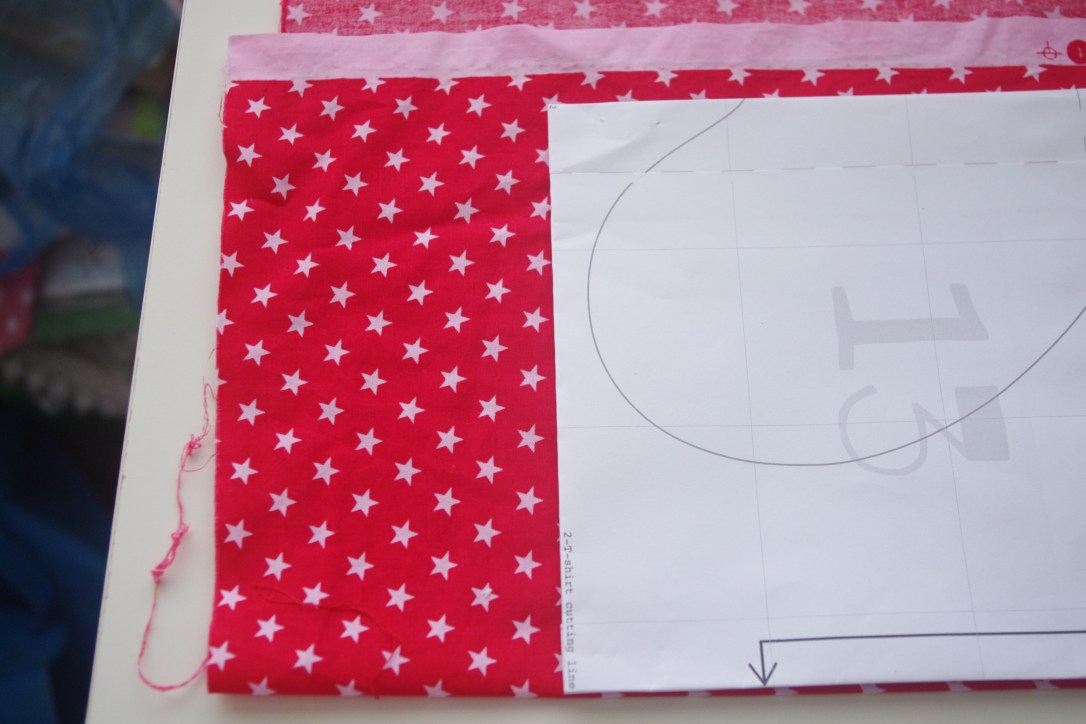
This one I simply overlocked the 3 straight edges and the neck curve. I ironed them over and sewed them down. For this hack, the neck is not sewn to the shirt so it’s sewn down at this stage.

Gather the shoulders as above. Pin them to the shoulders of the back piece. Leave around 1 cm at either side for the seam allowance of the t-shirt.
Sew your t-shirt as the pattern says. I pulled the cape out of the road for different seams and right away for the when I sewed the neck band.

This pattern that I used is the t-shirt from the One Romper by Filles a Maman (featured in One Thimble magazine). I used the cape fabric to make the pocket in this pattern.
3. Add-on cape for a dress shirt
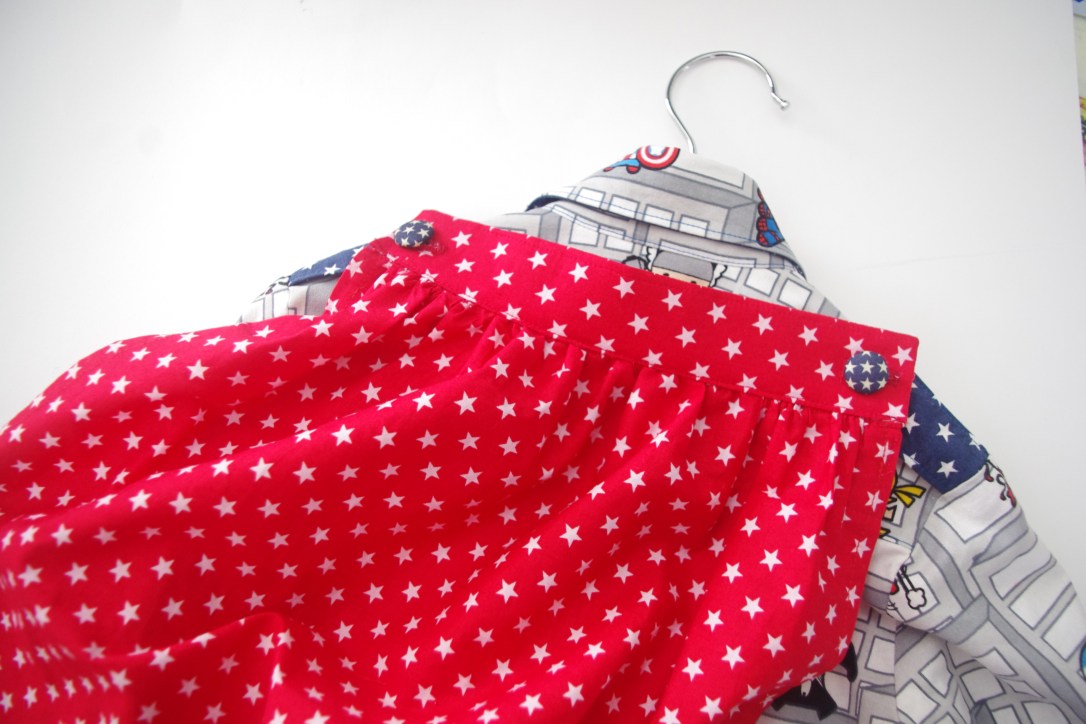
This hack works best if you have shoulder tabs with buttons.
Measure the size of the cape using the pattern piece. This cape is cut into a rectangle.

Finish the sides and bottom edges of the cape with your preferred method.
Gather along the entire top of the cape to just a little more than the width between the 2 buttons.

Measure the length of the gathered section.

Cut 2 rectangles that are around 1 inch longer that the gathered section and 2 inches wide. Interface one of the rectangles and iron up 1 cm along 1 long edge.

Pin the non-interfaced rectangle to the gathering, right side of the rectangle to the wrong side of the gathering. Start in the centre to ensure there is overhang on each side. Sew down using a 1 cm seam allowance. Iron the rectangle up and away from the cape with the raw end within the rectangle.

Pin the interfaced rectangle to the other, right sides together. Sew the 3 raw edges with a 1cm allowance (or as close as possible to the cape at the sides).
Clip the corner and turn the right side out. Push the corners out and press.

Pin the pressed edge over the sew line from attached the gathering. Top stich in place.
Lay the cape back down. Mark where the buttons sit. Make button holes using your machine’s instructions.

Once the button holes are done, you can attach to the shirt.

The pattern I used for this shirt, was the Troop Shirt by Tadah Patterns.

Wrist cuffs
I cut 2 rectangles that are 4 1/2 inches by 7 inches.

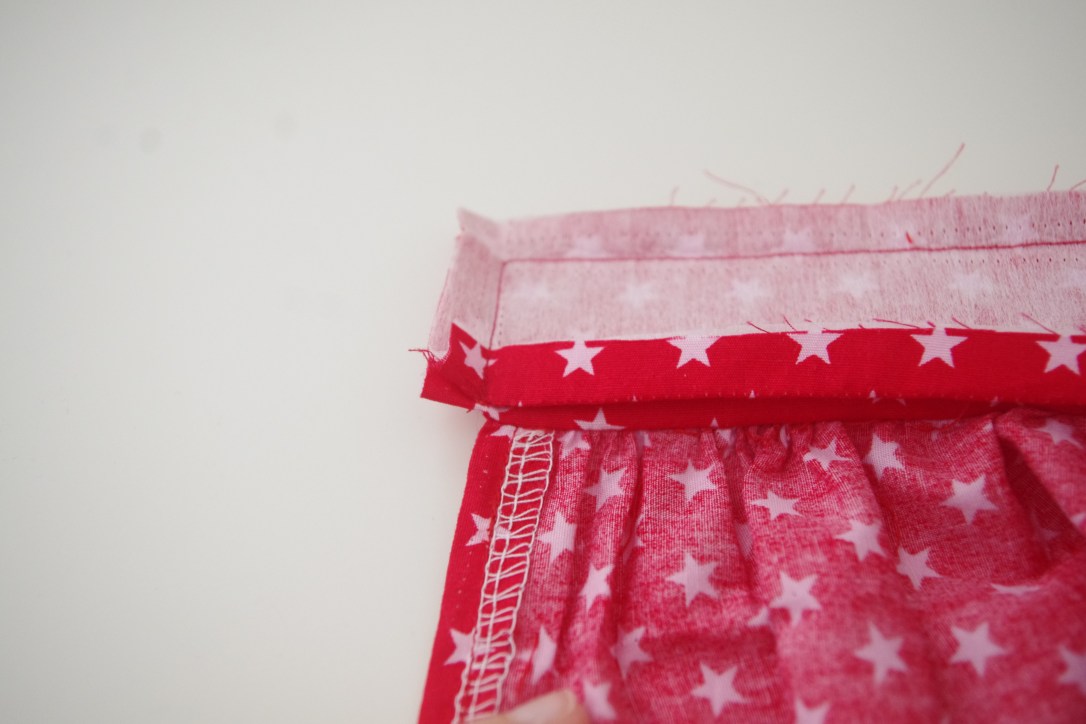
Fold right sides together and sew one end and the length.
Trim the corners and fold out the right way.

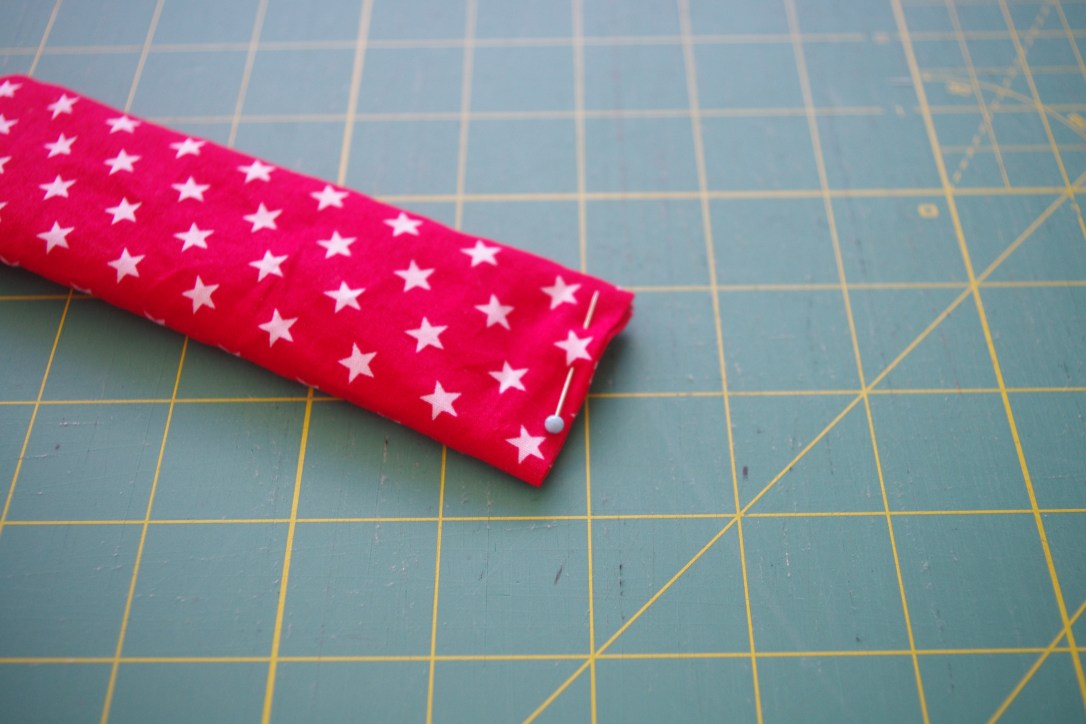
Gently push 1cm of the raw end inside the casing.

Pin and sew with a 1/8 inch top stich. Press.
Cut 2 pieces of Velcro the width of the cuff. I like to halve the ‘hook’ side.
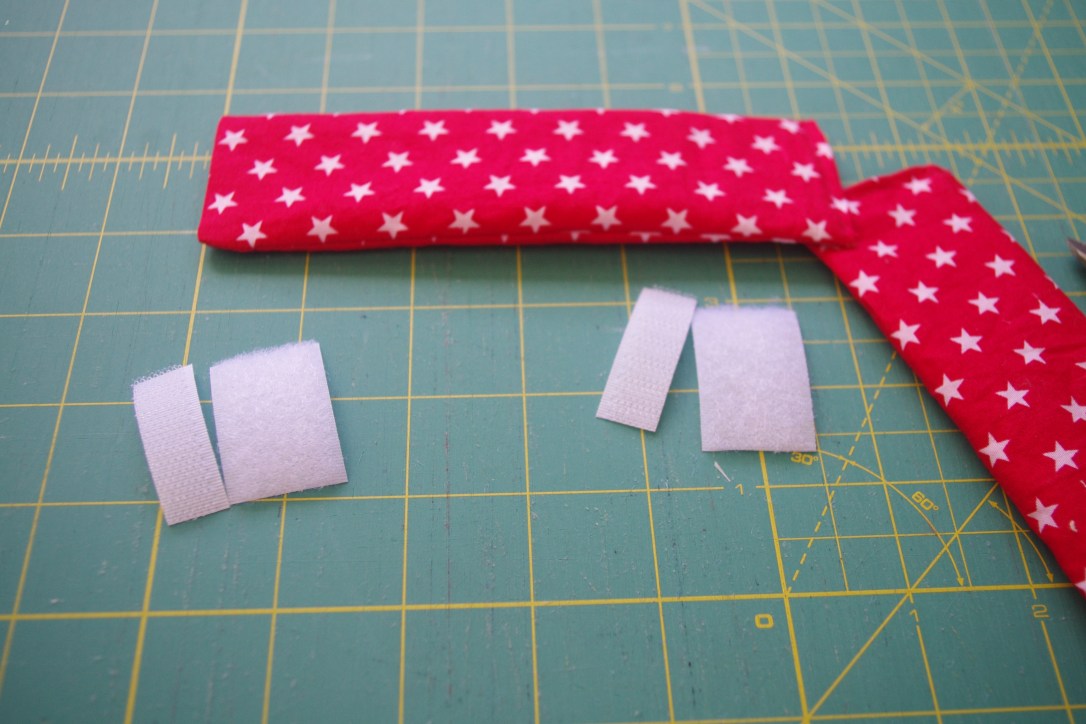
Sew them onto the ends, making sure they are on opposite sides of the band. I like to use a zig zap stitch for attaching the Velcro.
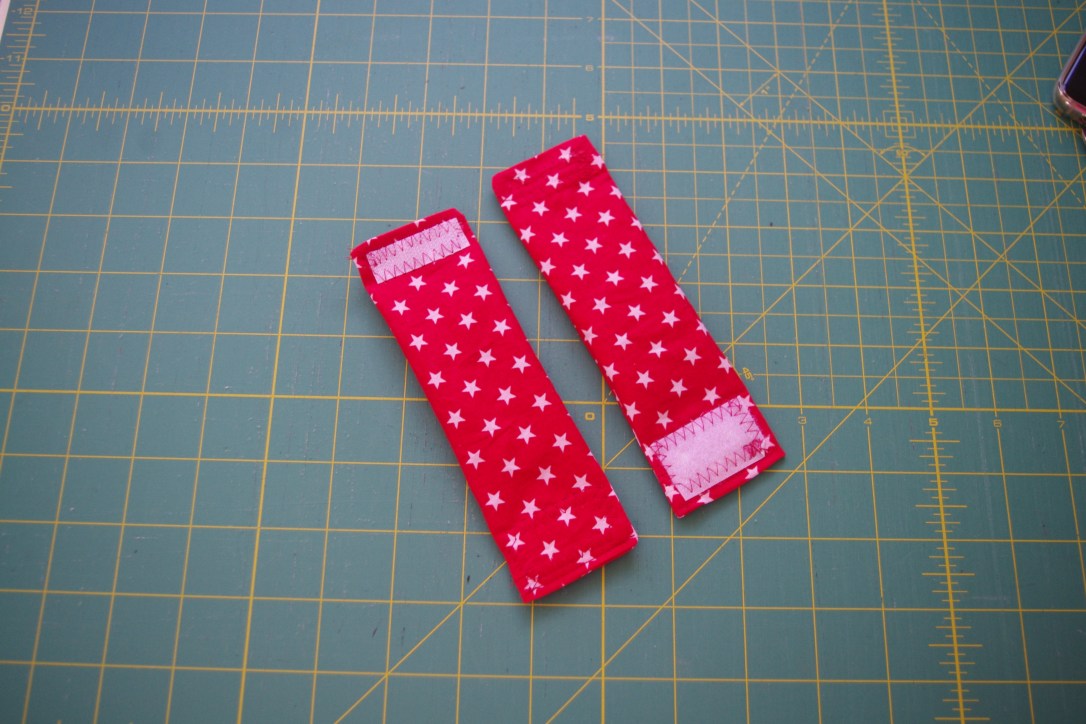
Your bands are done! They’re that easy!
I’d love to see your creations. Please tag me on social media @noblecubs
🙂 Martina

