
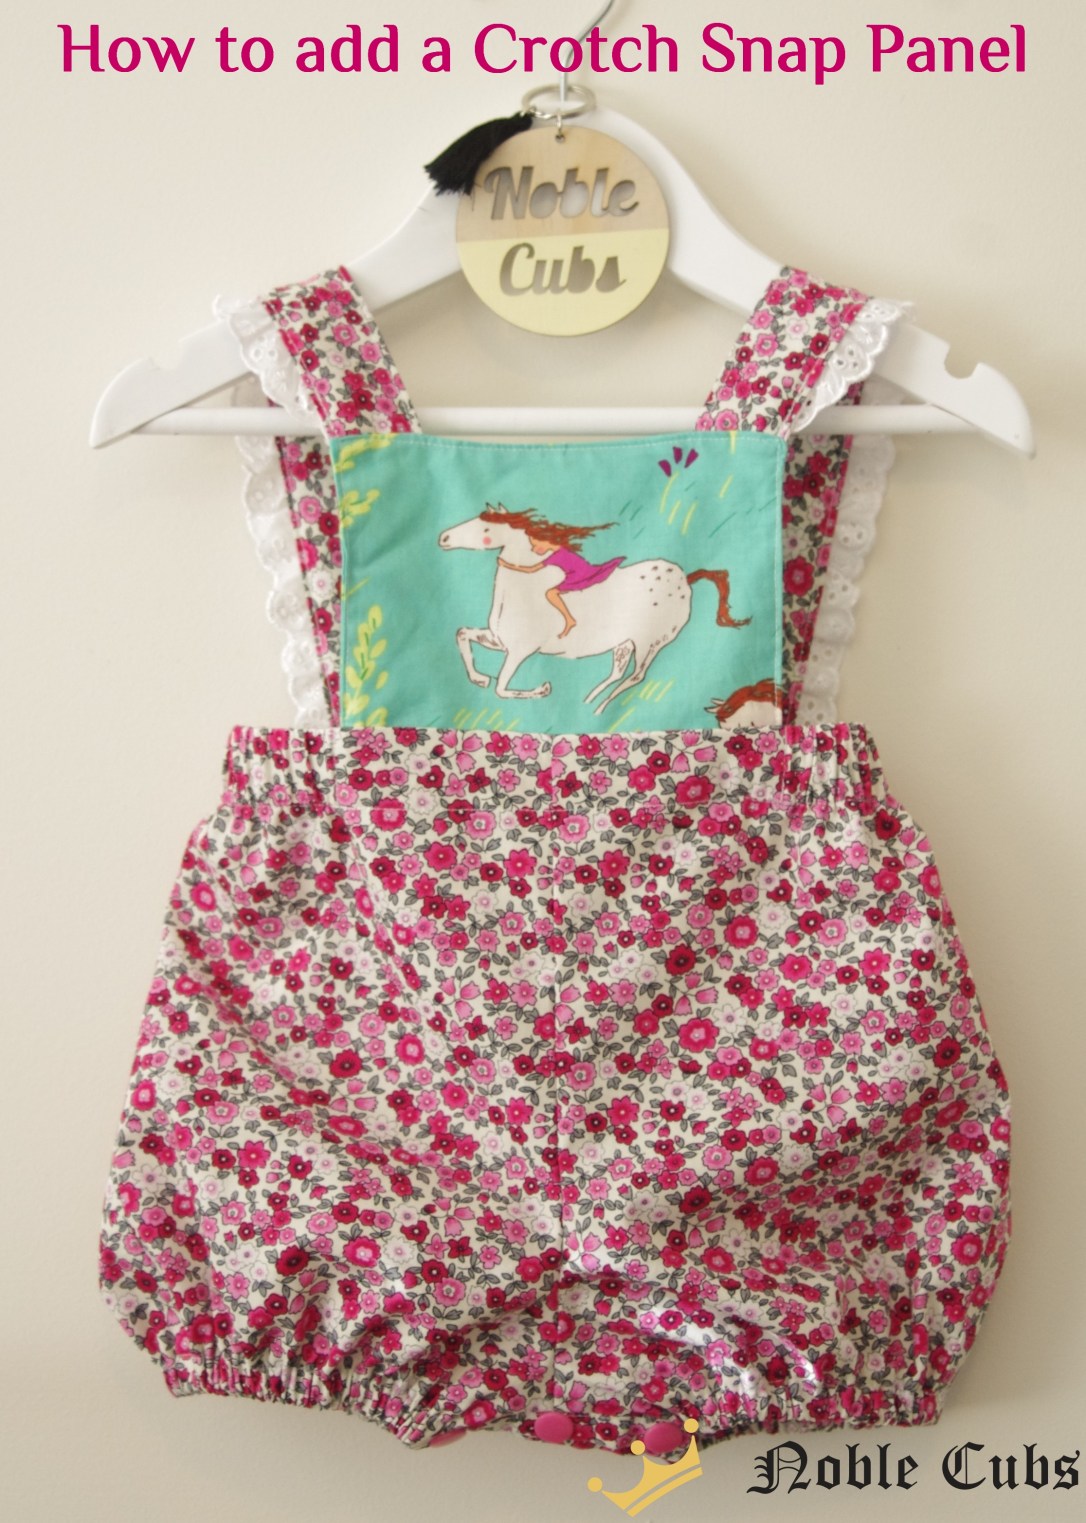
The gorgeous new Melbourne romper has been released by Jilly Atlanta in issue 12 of One Thimble magazine. I love easy access to nappies so I added a crotch snap panel when I made them.
I have come across many patterns that have crotch snap panels including the Baby Tea Party by Tadah Patterns and Sprouts by Flosstyle. This is where I learnt how to do this and I have adapted it to suit the Melbourne romper.
- Measure the inner leg seam. I do this at the beginning when I am cutting out all pieces. I make the panel 2x this length, eg. one inner seam is 3 1/2 inches so the total length is 7. Even though there will be a seam and elastic casings, just so that I have plenty of fabric. It’s better to have too much than too less. The width of the snap panel is 2 inches.
- Trim off 1/4 inch of the inner seam. This is because of the difference in what the seam allowance would have been to what it will be using the snap panel.

- Iron on light interfacing to the wrong side of the fabric.
- Complete the bib and straps as per the pattern.
- You will need to complete the pants part of the pattern in a slightly different order. The side, front and back seams need to be completed first.

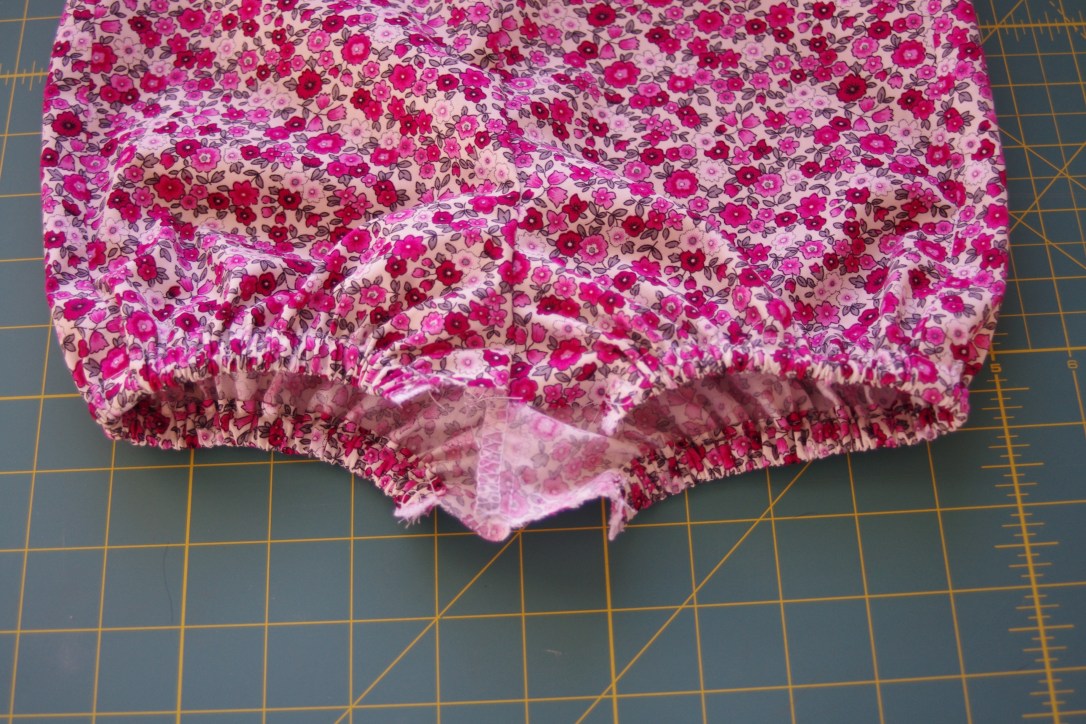
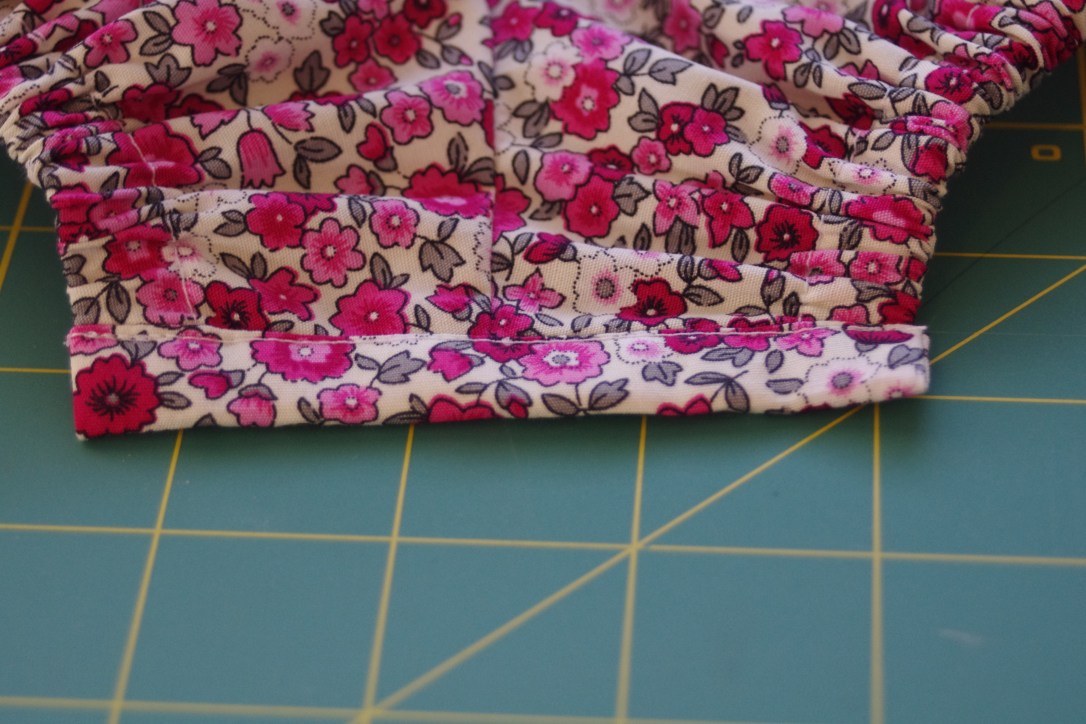
- The picture above shows the elastic casing ironed up. Use your measurements from the pattern to complete this part. You will be leaving the ends that are in the crotch open to insert the elastic.
- Insert your elastic through each side. When the end of the elastic get close to going through the casing, carefully place it in line with the edge and backstitch over it to hold it in place around 1/4 inch from the edge.
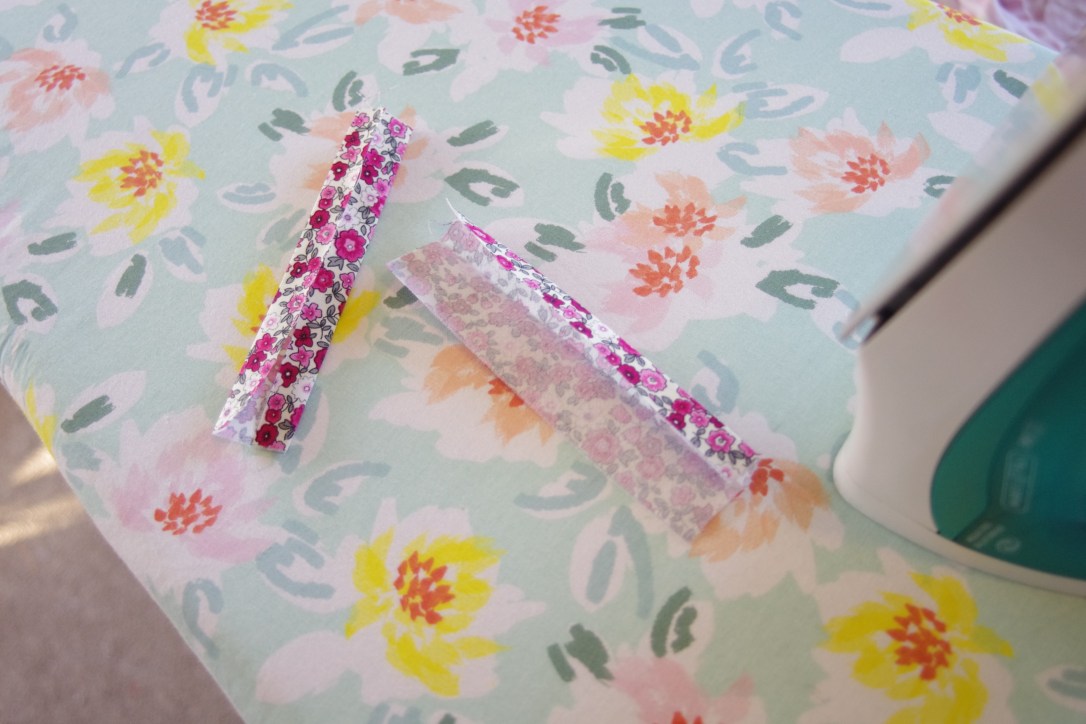
- Take your snap panels and iron them in half long ways. Then open it out and bring each long side to the centre and iron down.
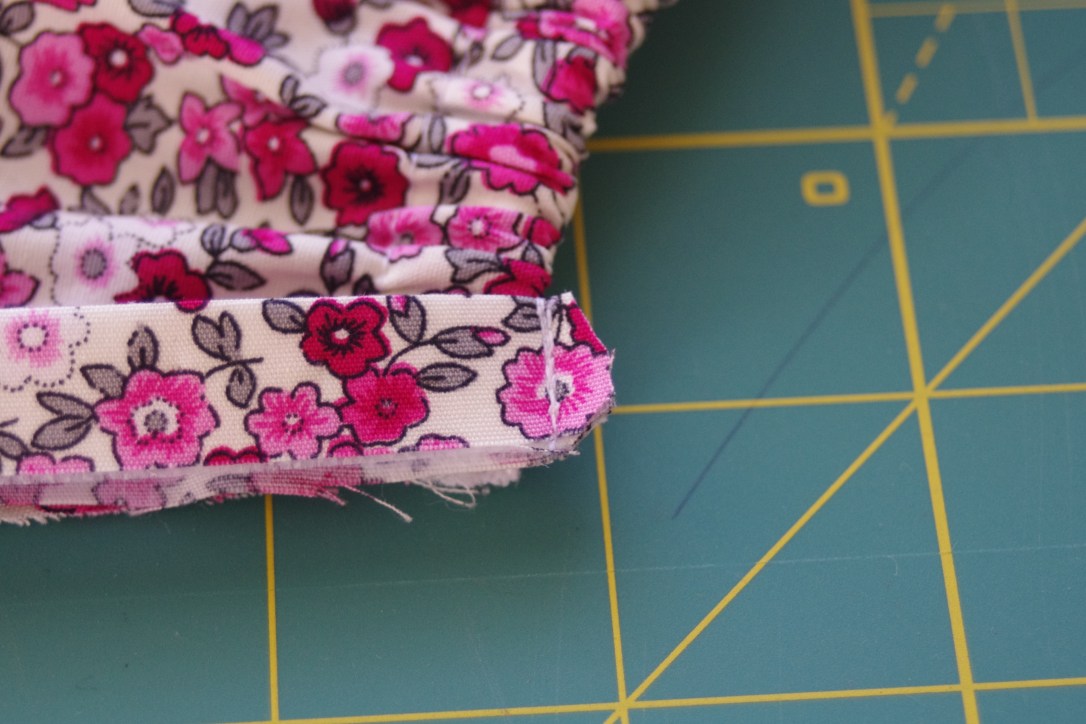
- These are now opened out and stitched to each crotch piece. 1 long raw edge is matched to the straightened crotch section. (the snap panel piece is roughly centred, you’ll find a bit of excess on either side. Stitch this with 1/2 inch seam allowance (or along the fold).

- Fold the snap panel back onto itself so that the inner fold is the wrong way (you will end up with 4 layers of fabric on top of each other).

- Stitch through the layer of the snap panel just past the edge of the crotch section of the pants, being careful not to catch the pants.
- Trim the ends of the snap panel and any elastic that sticks out past the crotch section.
- Turn the panel out the right way and gently push out the corners. Pin the loose edge down, making sure it covers the stitching from attaching the panel. Stitch this down by topstitching along the panel.
- Snaps placement is centred width ways. Length ways, put 1 each end a 1/2 inch in from the end and 1 within the centre. (If you are adding a panel to a longer pair of pants, evenly place snaps between the 2 end snaps, having them no more than 1 1/2 inches apart.)
- I put the cap of one type of snap on the outside of the front and cap of the other type of snap on the inside of the back. This way the front is over the top and sits neater.

- Add the bib and waistband as per pattern to complete the romper.


What a terrific post! Thanks so much for sharing your technique!
LikeLike