
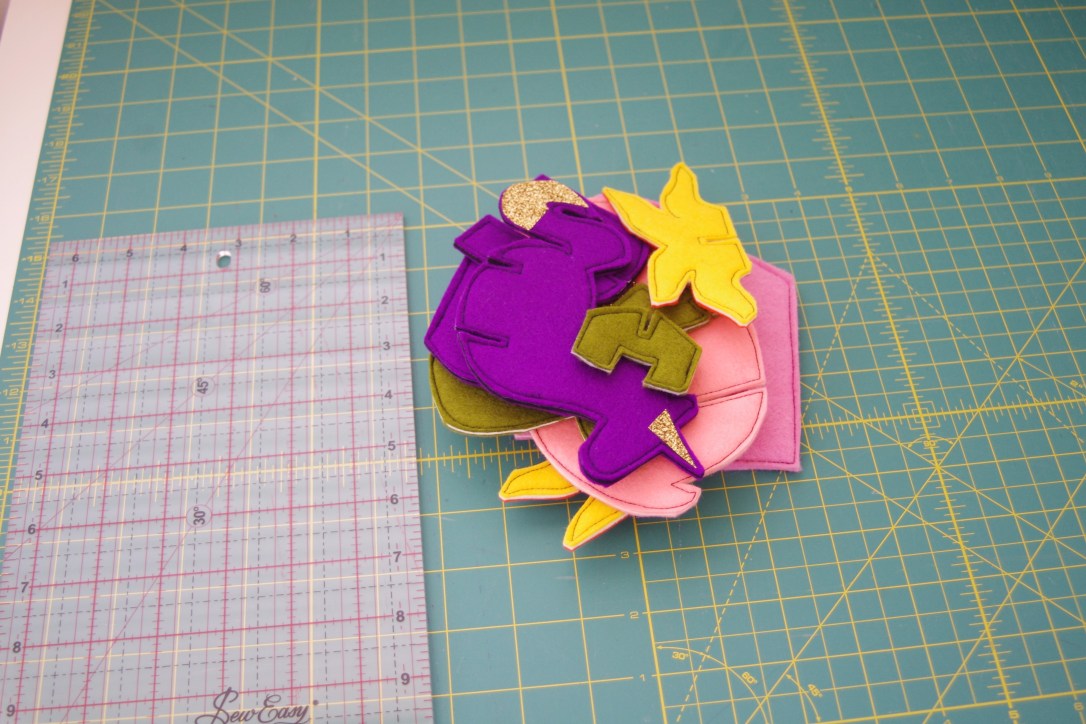
Recently I made my niece and nephew some felt animal and dinosaur puzzles (pattern by Felt with Love Designs). So that they’d have something to keep all the pieces in, I made them some little bags.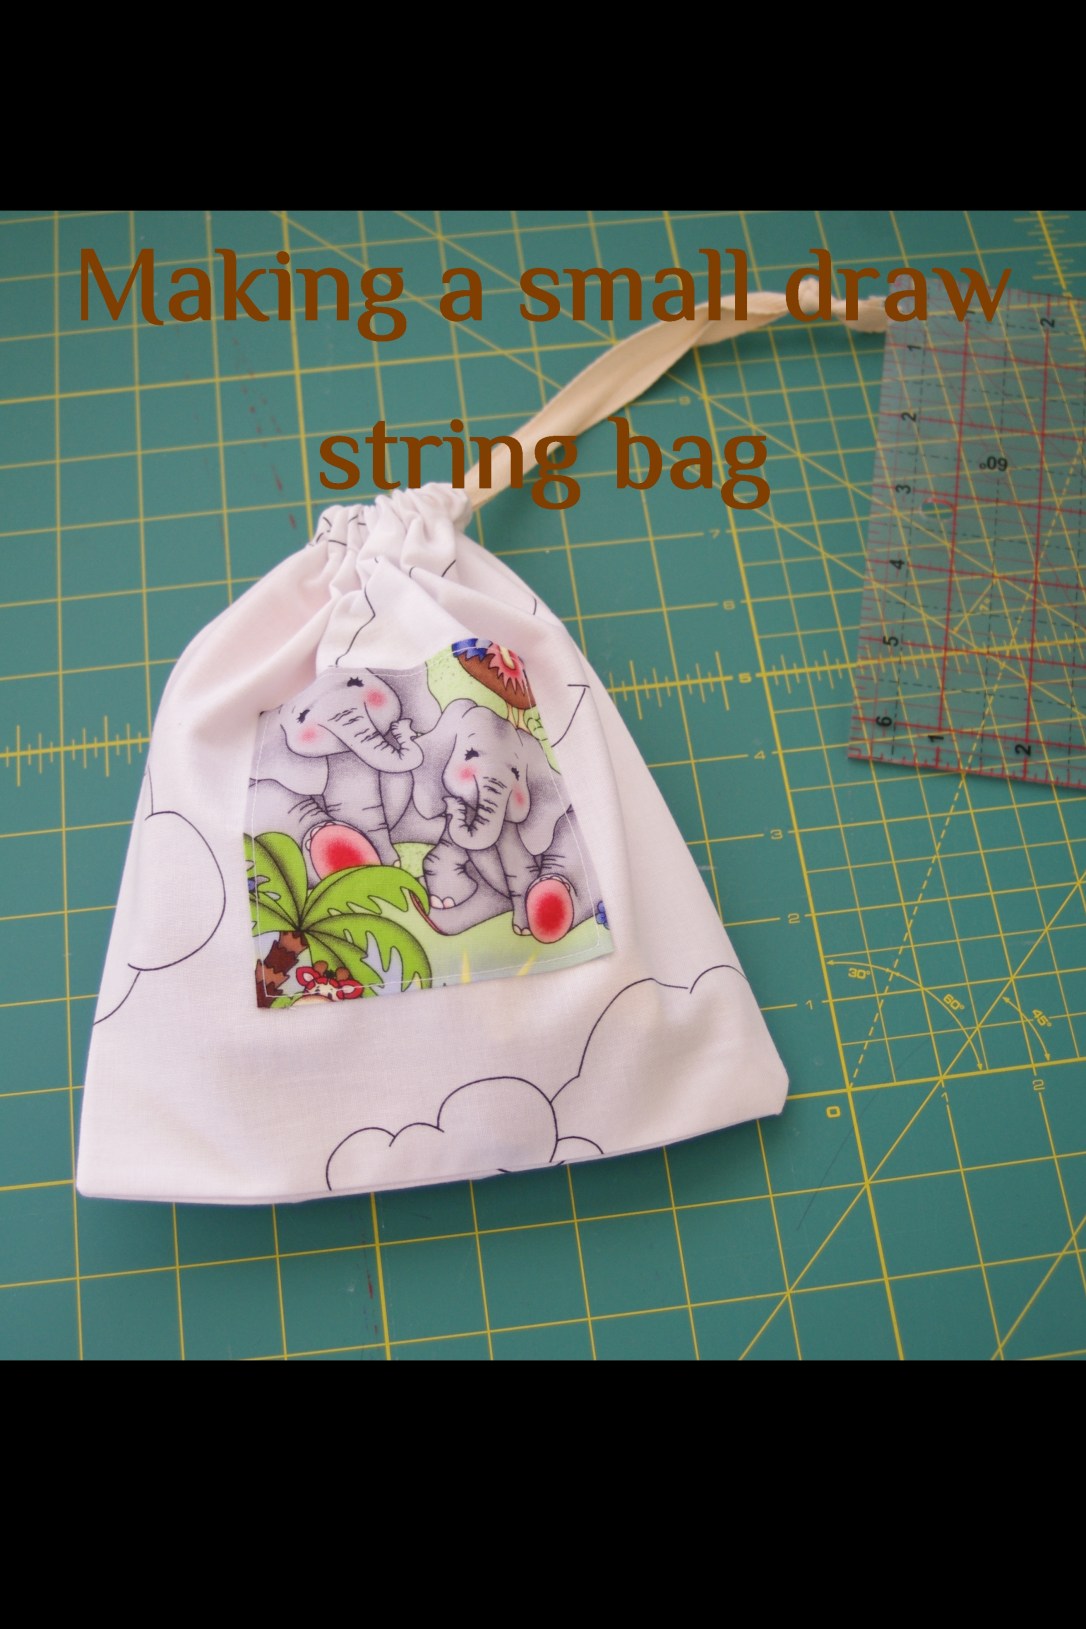
You will need: a piece of fabric to make your bag, a little piece to sew on the front, some tape (cord, shoe lace etc. will also work)
I put them down to get a rough idea of how much room they took up. I then added an inch to each side to take into account the depth of the puzzle pieces.
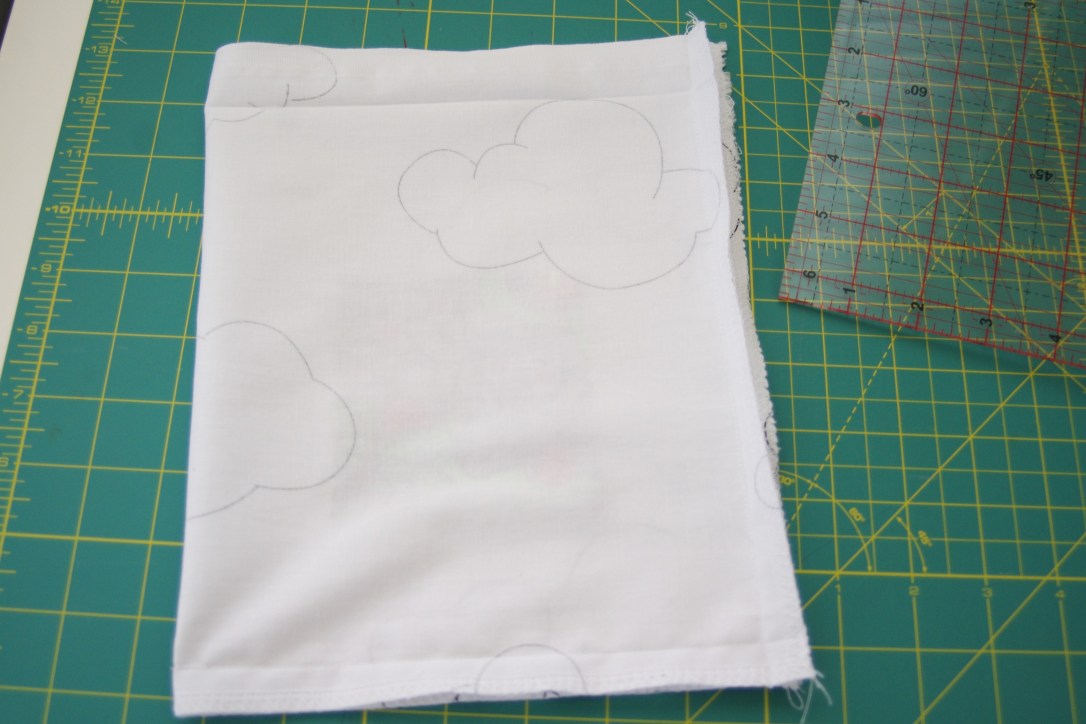
To work out the size to cut out, I firstly added 1 cm (3/8 inch) seam allowance to 1 side and the bottom, then I added 2.5 cm (1 inch) to the top. I then doubled this rectangle. (The bag is made from 1 piece of fabric folded in half). I then overlocked the raw edges (you could use a zig zag stitch).

I then ironed the 1cm (3/8 inch) seam allowance on the 2 sides and the bottom.

I also ironed down the top by 2.5cm (1 inch), while the side seam allowance was still folded over.

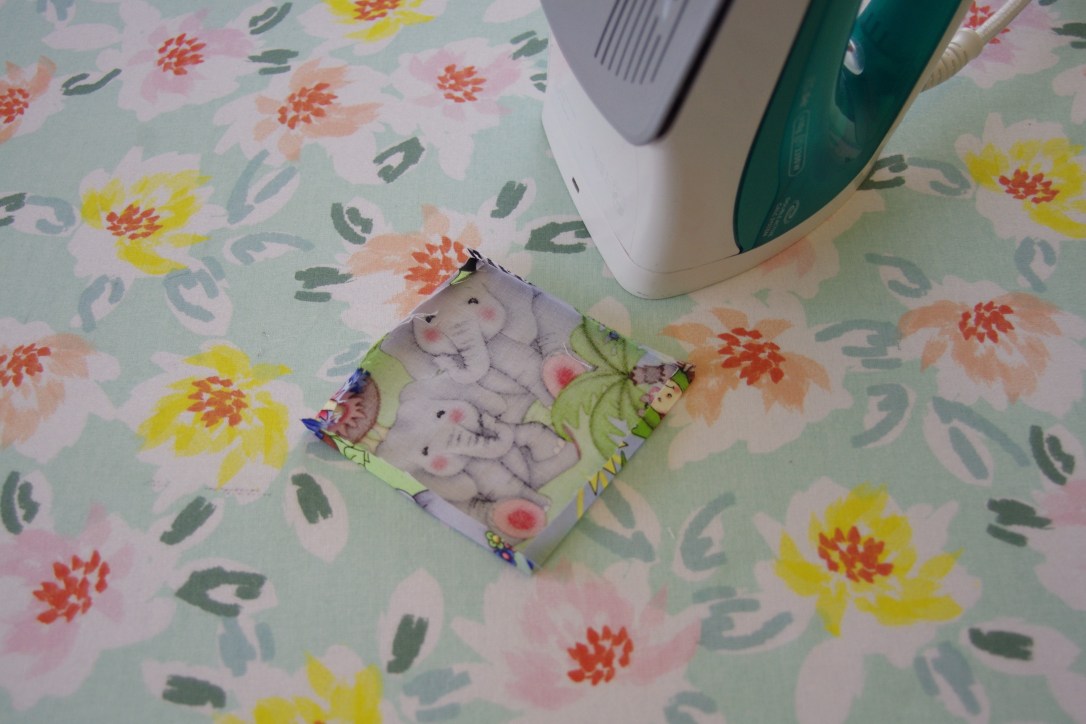
I like to add a little patch to the front to help identify what is in the bag. I used animal print for this example for the animal puzzle (I used dinosaur print for the dinosaur puzzle). I simply cut a square of the fabric that would fit within the area (generally halving the measurements of the bag). I then ironed down 1 cm (3/8 inch) around each side.
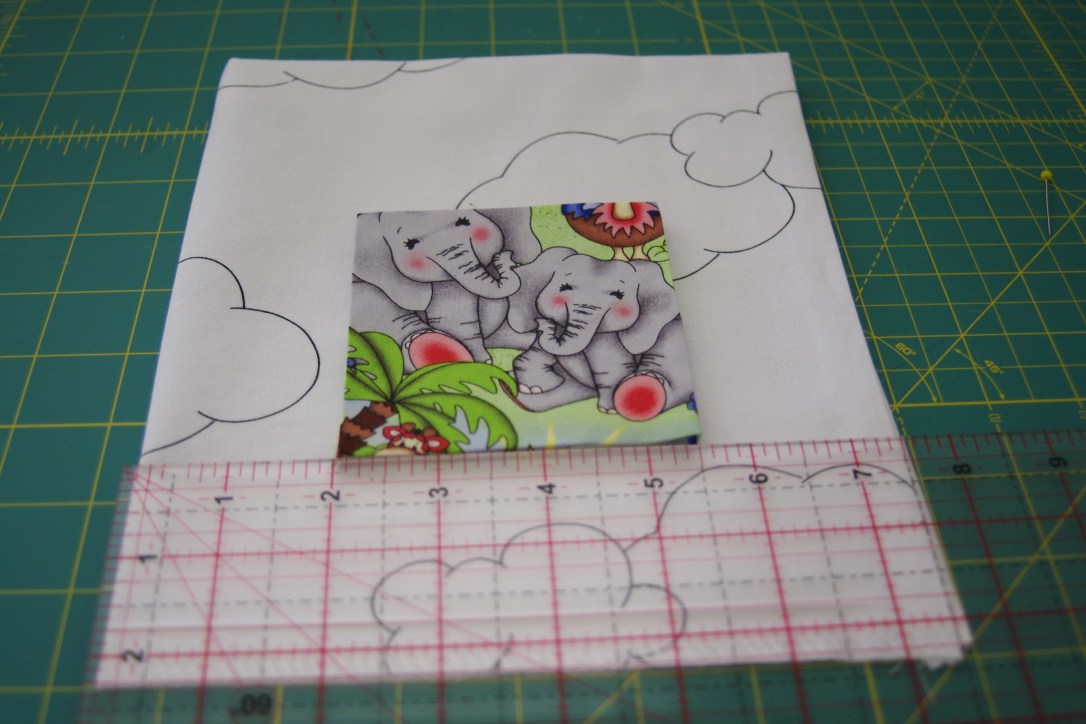
I then lined it up centrally on the bag before pinning it and sewing around the edge with an edge stitch (approximately 1/8 inch).
I folded the bag (rectangle) in half so that it was right sides together. I sewed the sides and the bottom using 1 cm (3/8 inch) seam allowance (you can follow the line you pressed earlier). At the side, you need to start at the press line you created 2.5 cm (1 inch) down from the top. Press down the side seams so that they sit flat, at least half way down the bag.
Now I folded the top back down along the pressed line, making sure the sides were pressed down first.

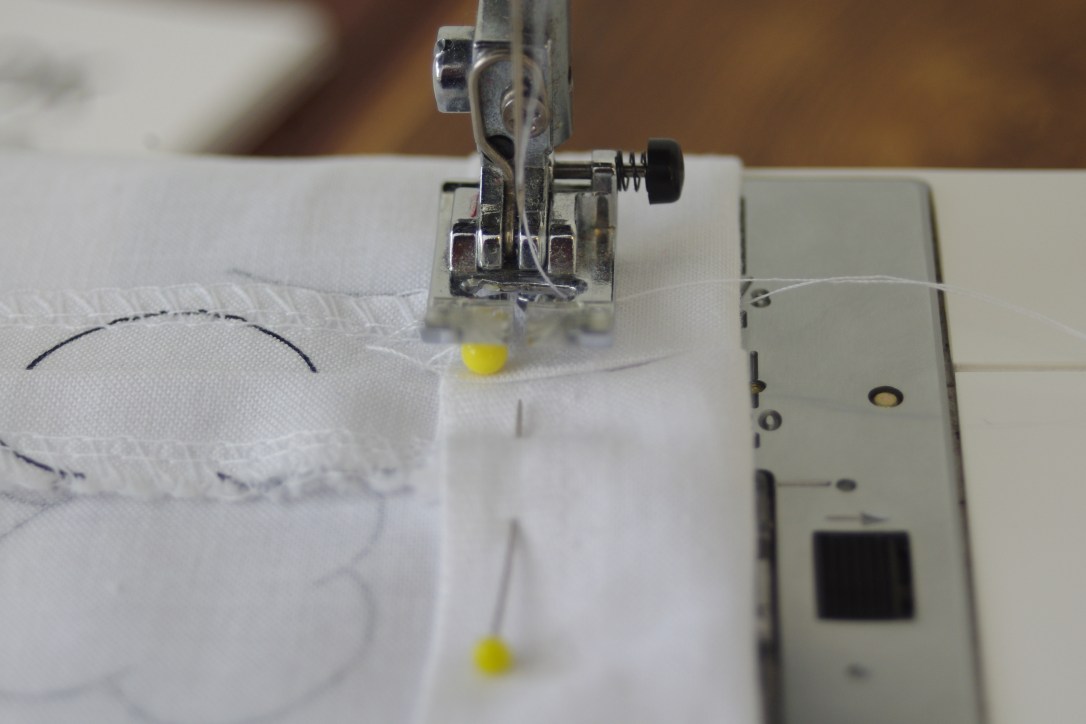
I then stitched around the top about 2 cm (5/8 inch) from the top.
I got the tape I was using for the drawstring (a shoelace would also be a great option) and laid it down, making sure I had enough to tie the ends together (about 5 cm or 2 inches).

Thread the tape through the casing you created at the top of the bag using a safety pin. When it comes out the other end, tie the two ends together.
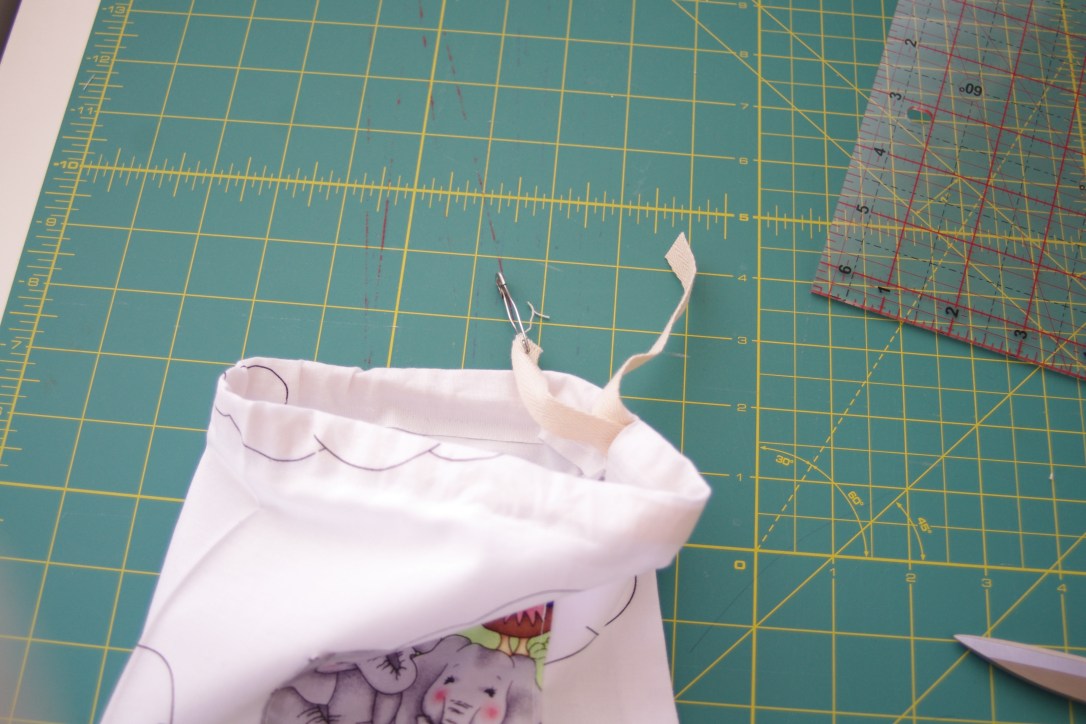
You now have a hand little bag to store your handmade goodies in!
Martina 🙂


1 thought on “Making a fabric draw string bag”